
I finally bit the bullet and ordered an additional node to allow more thorough setups with VMware Cloud Foundation 9 and other technologies, such as Red Hat OpenShift. With the advent of VMware VCF 9.1 and a hungrier Kubernetes management stack, the second node became essential. Additionally, I’ve moved the whole stack to a cooler, secluded place.
Navigation
Build of Materials
Second Node
The additional node has pretty much the same hardware as my existing one, with a slight twist on the boot NVMe.
- 1 x Minisforum MS-A2 with AMD Ryzen 9955HX
- 1 x Crucial 128GB DDR5 SODIMM Kit (2 x 64GB)
- 1 x SIX NVME M.2 512GB for ESX
- 1 x Samsung EVO 990 Plus 1TB for NVMe Tiering
- 1 x Samsung 990 EVO NVMe M.2 SSD 2 TB for vSAN
- 2 x FS.com 0.5m 10G SFP+ DAC to connect the MS-A2 to the network at 10Gbps
- 1 x Icy Box Heatsink IB-M2HS to try and keep things cooler
The original node I purchased had 2 x 2TB Samsung 990 EVO; to keep costs lower, one of these was moved to the new node, and a second SIX NVME M.2 512GB was purchased to make each node identical.
I now have the following storage layout per node.
- 512GB NVMe for OS
- 2TB NVMe for storage, i.e. vSAN
- 1TB for NVMe tiering
Additionally, one of the nodes has a local 2TB NVMe plugged into the PCI Express port for backups. At some point, I may move this to a small NUC backed by NFS and 10Gb networking and create a shared backup repository. Something external to vSAN is essential for rebuilds to retain the persistent platform virtual machines. It would also allow more flexible CSI options for Kubernetes.
Wallmount Rack
Additionally, I purchased the following wall-mount 4U rack so the entire kit can be away from the main lounge area in my house. The whole solution is now neatly tucked away out of sight.
- 1 x AD-TEK 4U 19 inch Perforated Adjustable Data Cabinet
- 2 x AD-TEK 1U 19 inch Rackmount Cantilever Shelf
- 1 x AD-TEK 1U 19 inch 6 way 13 amp horizonal PDU
Connectivity
The rack is remote and needs network connectivity. I faffed about with a few options but ultimately settled on a MikroTik hAP ax2. It has a modern quad-core ARM x64 CPU running at 864MHz, combined with a solid 1GB of RAM.
The configuration on this is really simple. All interfaces (apart from ether1) were placed in a common bridge. I disabled the 2.4Ghz wireless, set the 5Ghz to station pseudo bridge mode, binned the default DHCP server and replaced it with a DHCP client on the bridge interface.
I now have an 802.11AX bridge back to my home Zen router and can uplink the hAP to my main CRS310-1G-5S-4S+IN 10Gb switch, where both nodes reside.
If I lose the bridge and want to manage the unit, I can always physically attach ether1 to an existing network, which would pick up DHCP and allow me to reach the unit.
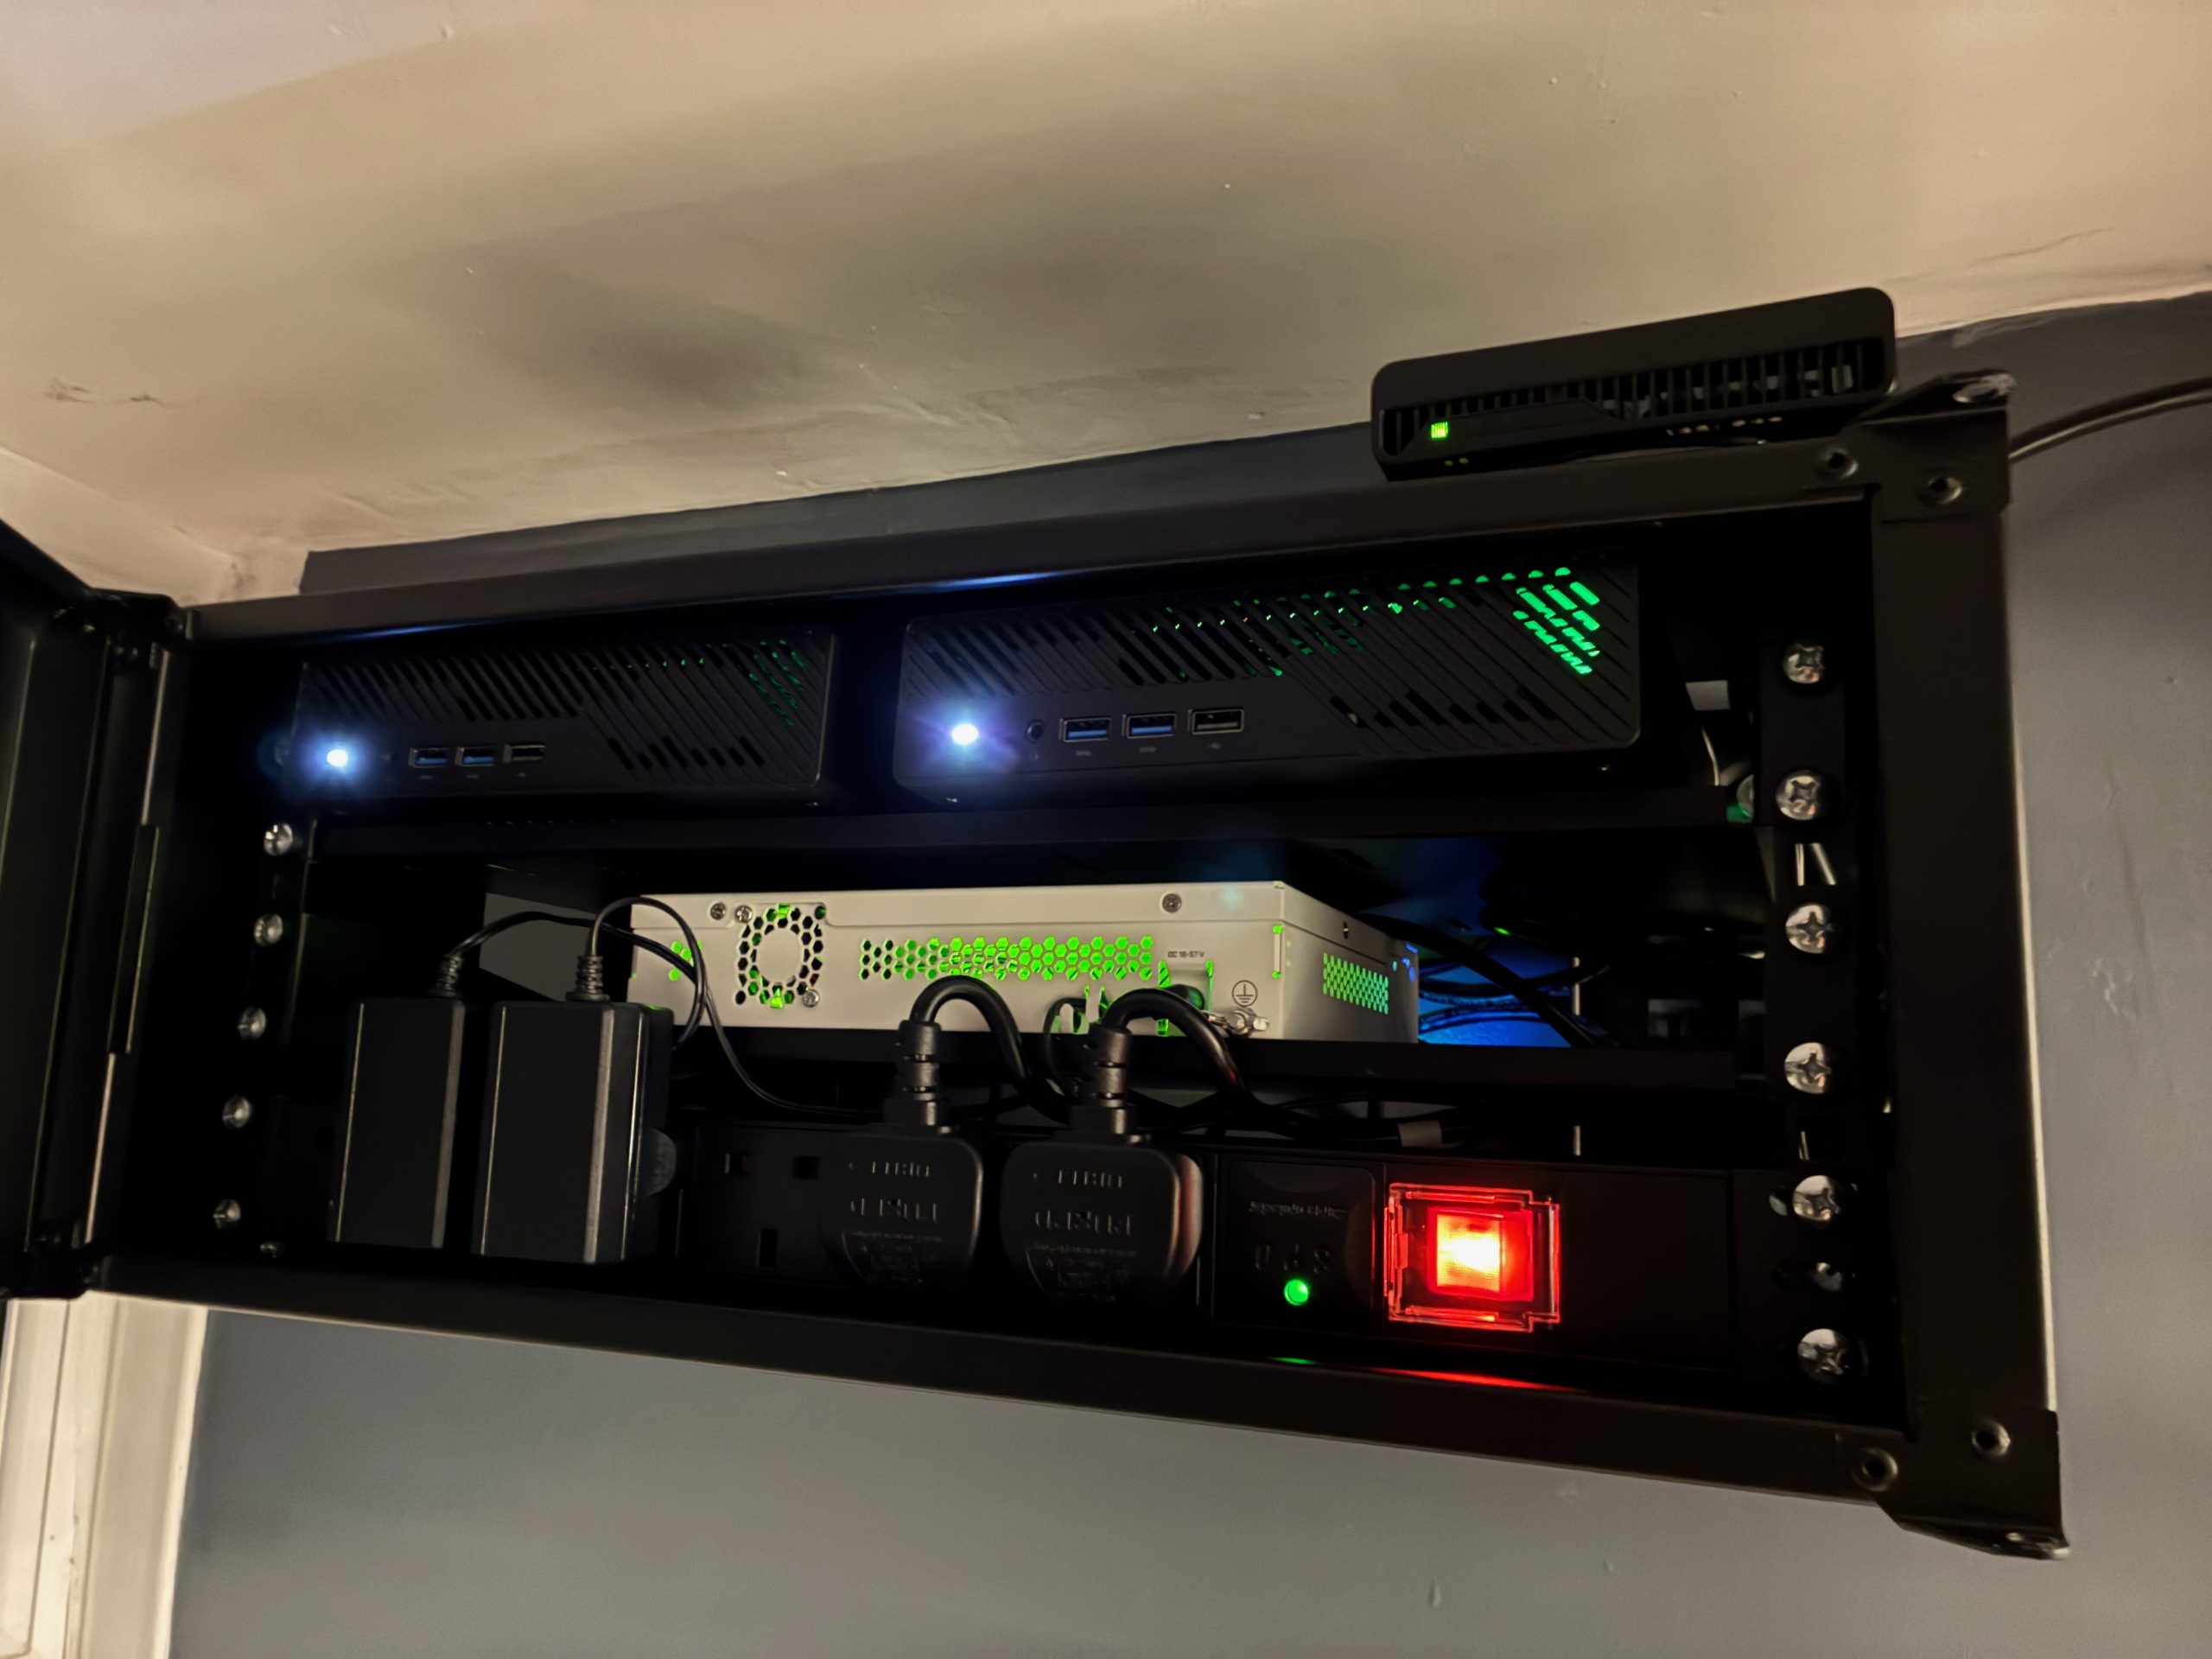
Final Deployment
The whole setup now looks much neater and is totally out of the way. Hurrah!
Possible Next Steps
The area the rack is in is secluded and quiet, but it is also too small. I’ve taken some inner windows out between the small area and a larger adjacent area and plan to build a DIY extractor fan to draw hot air away from the rack. The alternative of drilling through the external walls of my house is not very appealing.
I’ve also purchased a Bluetooth sensor, so I can keep an eye on the overall inner rack temperature.
I ran the entire setup at 100% load for over 12 hours, and nothing shut down or blew up, so hopefully all will be well with a little more ventilation.